Kubernetes Clusters ADVANCED ENTERPRISE
Advanced Enterprise — Not available in: Essentials
Morpheus Kubernetes (HKS) clusters are an Advanced+ feature, available in HPE Morpheus Enterprise and Advanced tiers.
Requirements
Agent installation is required for Master and Worker Nodes. Refer to Morpheus Agent section for additional information.
- Access to Cloud Front, Image copy access and permissions for System and Uploaded Images used in Cluster Layouts
Image(s) used in Cluster Layouts must either exist in destination cloud/resource or be able to be copied to destination by Morpheus, typically applicable for non-public clouds. For the initial provision, Morpheus System Images are streamed from Cloud Front through Morpheus to target destination. Subsequent provisions clone the local Image.
System Kubernetes Layouts require Master and Worker nodes to access to the following over 443 during K8s install and configuration:
Morpheus Role permission
Infrastructure: Clusters > Fullrequired for Viewing, Creating, Editing and Deleting Clusters.Morpheus Role permission
Infrastructure: Clusters > Readrequired for Viewing Cluster list and detail pages.
For HKS networking and planned node service, see HKS kube-vip and HKS Node Maintenance.
CNCF Conformance Claim
This documentation does not bundle an official CNCF conformance record that identifies an HKS product name, Kubernetes version, certification status, and validity period. It therefore makes no claim that HKS generally, or every HKS-provisioned Kubernetes version, is CNCF Certified Kubernetes.
Certification is version-specific. Confirm a claim only against the CNCF Certified Kubernetes product list and its linked conformance record. If the exact HKS offering and version are not present, contact HPE before representing the deployment as certified. Kubernetes API compatibility or a successful conformance test run is not, by itself, a published CNCF certification.
Creating Kubernetes Clusters
Provisions a new Kubernetes Cluster in selected target Cloud using selected Layout.
Note
When deploying a highly-available Kubernetes cluster, it’s important to note that HPE Morpheus Software does not currently auto-deploy a load balancer. Additionally, when HPE Morpheus Software runs the kubeadm init command in the background during cluster provisioning, it also sets the --control-plane-endpoint flag to the first control plane node. This is a hard-coded behavior. To accomplish a highly-available cluster, users may wish to update the configured control plane endpoint, such as to a DNS name pointing to a load balancer. We are currently investigating updates to the product that would allow the user to specify such a DNS name prior to kicking off cluster provisioning. Additionally, users can circumvent this issue by configuring and deploying their own custom Cluster Layouts.
HPE Morpheus Software maintains a number of default Kubernetes Cluster Layouts which are updated frequently to offer support for current versions. AKS & GKE Kubernetes versions will dynamically update to the providers supported versions. HPE Morpheus Software also supports creation of custom Kubernetes Cluster Layouts, a process which is described in detail in a later section.
To create a new Kubernetes Cluster:
Navigate to
Infrastructure > ClustersSelect + ADD CLUSTER
Select
Kubernetes ClusterSelect a Group for the Cluster
Select NEXT
Populate the following:
- CLOUD
Select target Cloud
- CLUSTER NAME
Name for the Kubernetes Cluster
- RESOURCE NAME
Name for Kubernetes Cluster resources
- DESCRIPTION
Description of the Cluster
- VISIBILITY
- Public
Available to all Tenants
- Private
Available to Master Tenant
- LABELS
Internal label(s)
Select NEXT
Populate the following:
Note
VMware sample fields provided. Actual options depend on Target Cloud
- LAYOUT
Select from available layouts. System provided layouts include Single Master and Cluster Layouts.
- PLAN
Select plan for Kubernetes Master
- VOLUMES
Configure volumes for Kubernetes Master
- NETWORKS
Select the network for Kubernetes Master & Worker VM’s
- CUSTOM CONFIG
Add custom Kubernetes annotations and config hash
- CLUSTER HOSTNAME
Cluster address Hostname (cluster layouts only)
- POD CIDR
POD network range in CIDR format ie 192.168.0.0/24 (cluster layouts only)
- WORKER PLAN
Plan for Worker Nodes (cluster layouts only)
- NUMBER OF WORKERS
Specify the number of workers to provision
- LOAD BALANCER
Select an available Load Balancer (cluster layouts only) }
- User Config
- CREATE YOUR USER
Select to create your user on provisioned hosts (requires Linux user config in HPE Morpheus Software User Profile)
- USER GROUP
Select User group to create users for all User Group members on provisioned hosts (requires Linux user config in HPE Morpheus Software User Profile for all members of User Group)
- Advanced Options
- DOMAIN
Specify Domain override for DNS records
- HOSTNAME
Set hostname override (defaults to Instance name unless an Active Hostname Policy applies)
Select NEXT
Select optional Workflow to execute
Select NEXT
Review and select COMPLETE
The Master Node(s) will provision first.
- Upon successful completion of VM provision, Kubernetes scripts will be executed to install and configure Kubernetes on the Masters.
Note
Access to the sites listed in the Requirements section is required from Master and Worker nodes over 443
After Master or Masters are successfully provisioned and Kubernetes is successfully installed and configured, the Worker Nodes will provision in parallel.
- Provision status can be viewed:
From the Status next to the Cluster in
Infrastructure > ClustersStatus bar with eta and current step available on Cluster detail page, accessible by selecting the Cluster name from
Infrastructure > Clusters
All process status and history is available - From the Cluster detail page History tab, accessible by selecting the Cluster name from
Infrastructure > Clustersand the History tab - From Operations - Activity - History - Individual process output available by clicking i on target process
Once all Master and Worker Nodes are successfully provisioned and Kubernetes is installed and configured, the Cluster status will turn green.
Important
Cluster provisioning requires successful creation of VMs, Agent Installation, and execution of Kubernetes workflows. Consult process output from
``Infrastructure > Clusters - Detailsand morpheus-ui current logs atAdministration - Health - Morpheus Logsfor information on failed Clusters.
Intra-Kubernetes Cluster Port Requirements
The table below includes port requirements for the machines within the cluster (not for the HPE Morpheus Software appliance itself). Check that the following ports are open on Control-plane and Worker nodes:
Protocol |
Direction |
Port Range |
Purpose |
Used By |
|---|---|---|---|---|
TCP |
Inbound |
6443 |
Kubernetes API Server |
All |
TCP |
Inbound |
6783 |
Weaveworks |
|
TCP |
Inbound |
2379-2380 |
etcd server client API |
kube-apiserver, etcd |
TCP |
Inbound |
10250 |
kubelet API |
Self, Control plane |
TCP |
Inbound |
10251 |
kube-scheduler |
Self |
TCP |
Inbound |
10252 |
kube-controller-manager |
Self |
Protocol |
Direction |
Port Range |
Purpose |
Used By |
|---|---|---|---|---|
TCP |
Inbound |
10250 |
kubelet API |
Self, Control plane |
TCP |
Inbound |
30000-32767 |
NodePort Services |
All |
Adding Worker Nodes
Navigate to
Infrastructure - ClustersSelect
v MOREfor the target clusterSelect
ADD (type) Kubernetes Worker- NAME
Name of the Worker Node. Auto=populated with
${cluster.resourceName}-worker-${seq}- DESCRIPTION
Description of the Worker Node, displayed in Worker tab on Cluster Detail pages, and on Worker Host Detail page
- CLOUD
Target Cloud for the Worker Node.
Select NEXT
Populate the following:
Note
VMware sample fields provided. Actual options depend on Target Cloud
- SERVICE PLAN
Service Plan for the new Worker Node
- NETWORK
Configure network options for the Worker node.
- HOST
If Host selection is enabled, optionally specify target host for new Worker node
- FOLDER
- Optionally specify target folder for new Worker node
- Advanced Options
- DOMAIN
Specify Domain override for DNS records
- HOSTNAME
Set hostname override (defaults to Instance name unless an Active Hostname Policy applies)
Select NEXT
Select optional Workflow to execute
Select NEXT
Review and select COMPLETE
Note
Ensure there is a default StorageClass available when using a Morpheus Kubernetes cluster with OpenEBS so that Kubernetes specs or HELM templates that use a default StorageClass for Persistent Volume Claims can be utilised.
Kubernetes Cluster Detail Pages
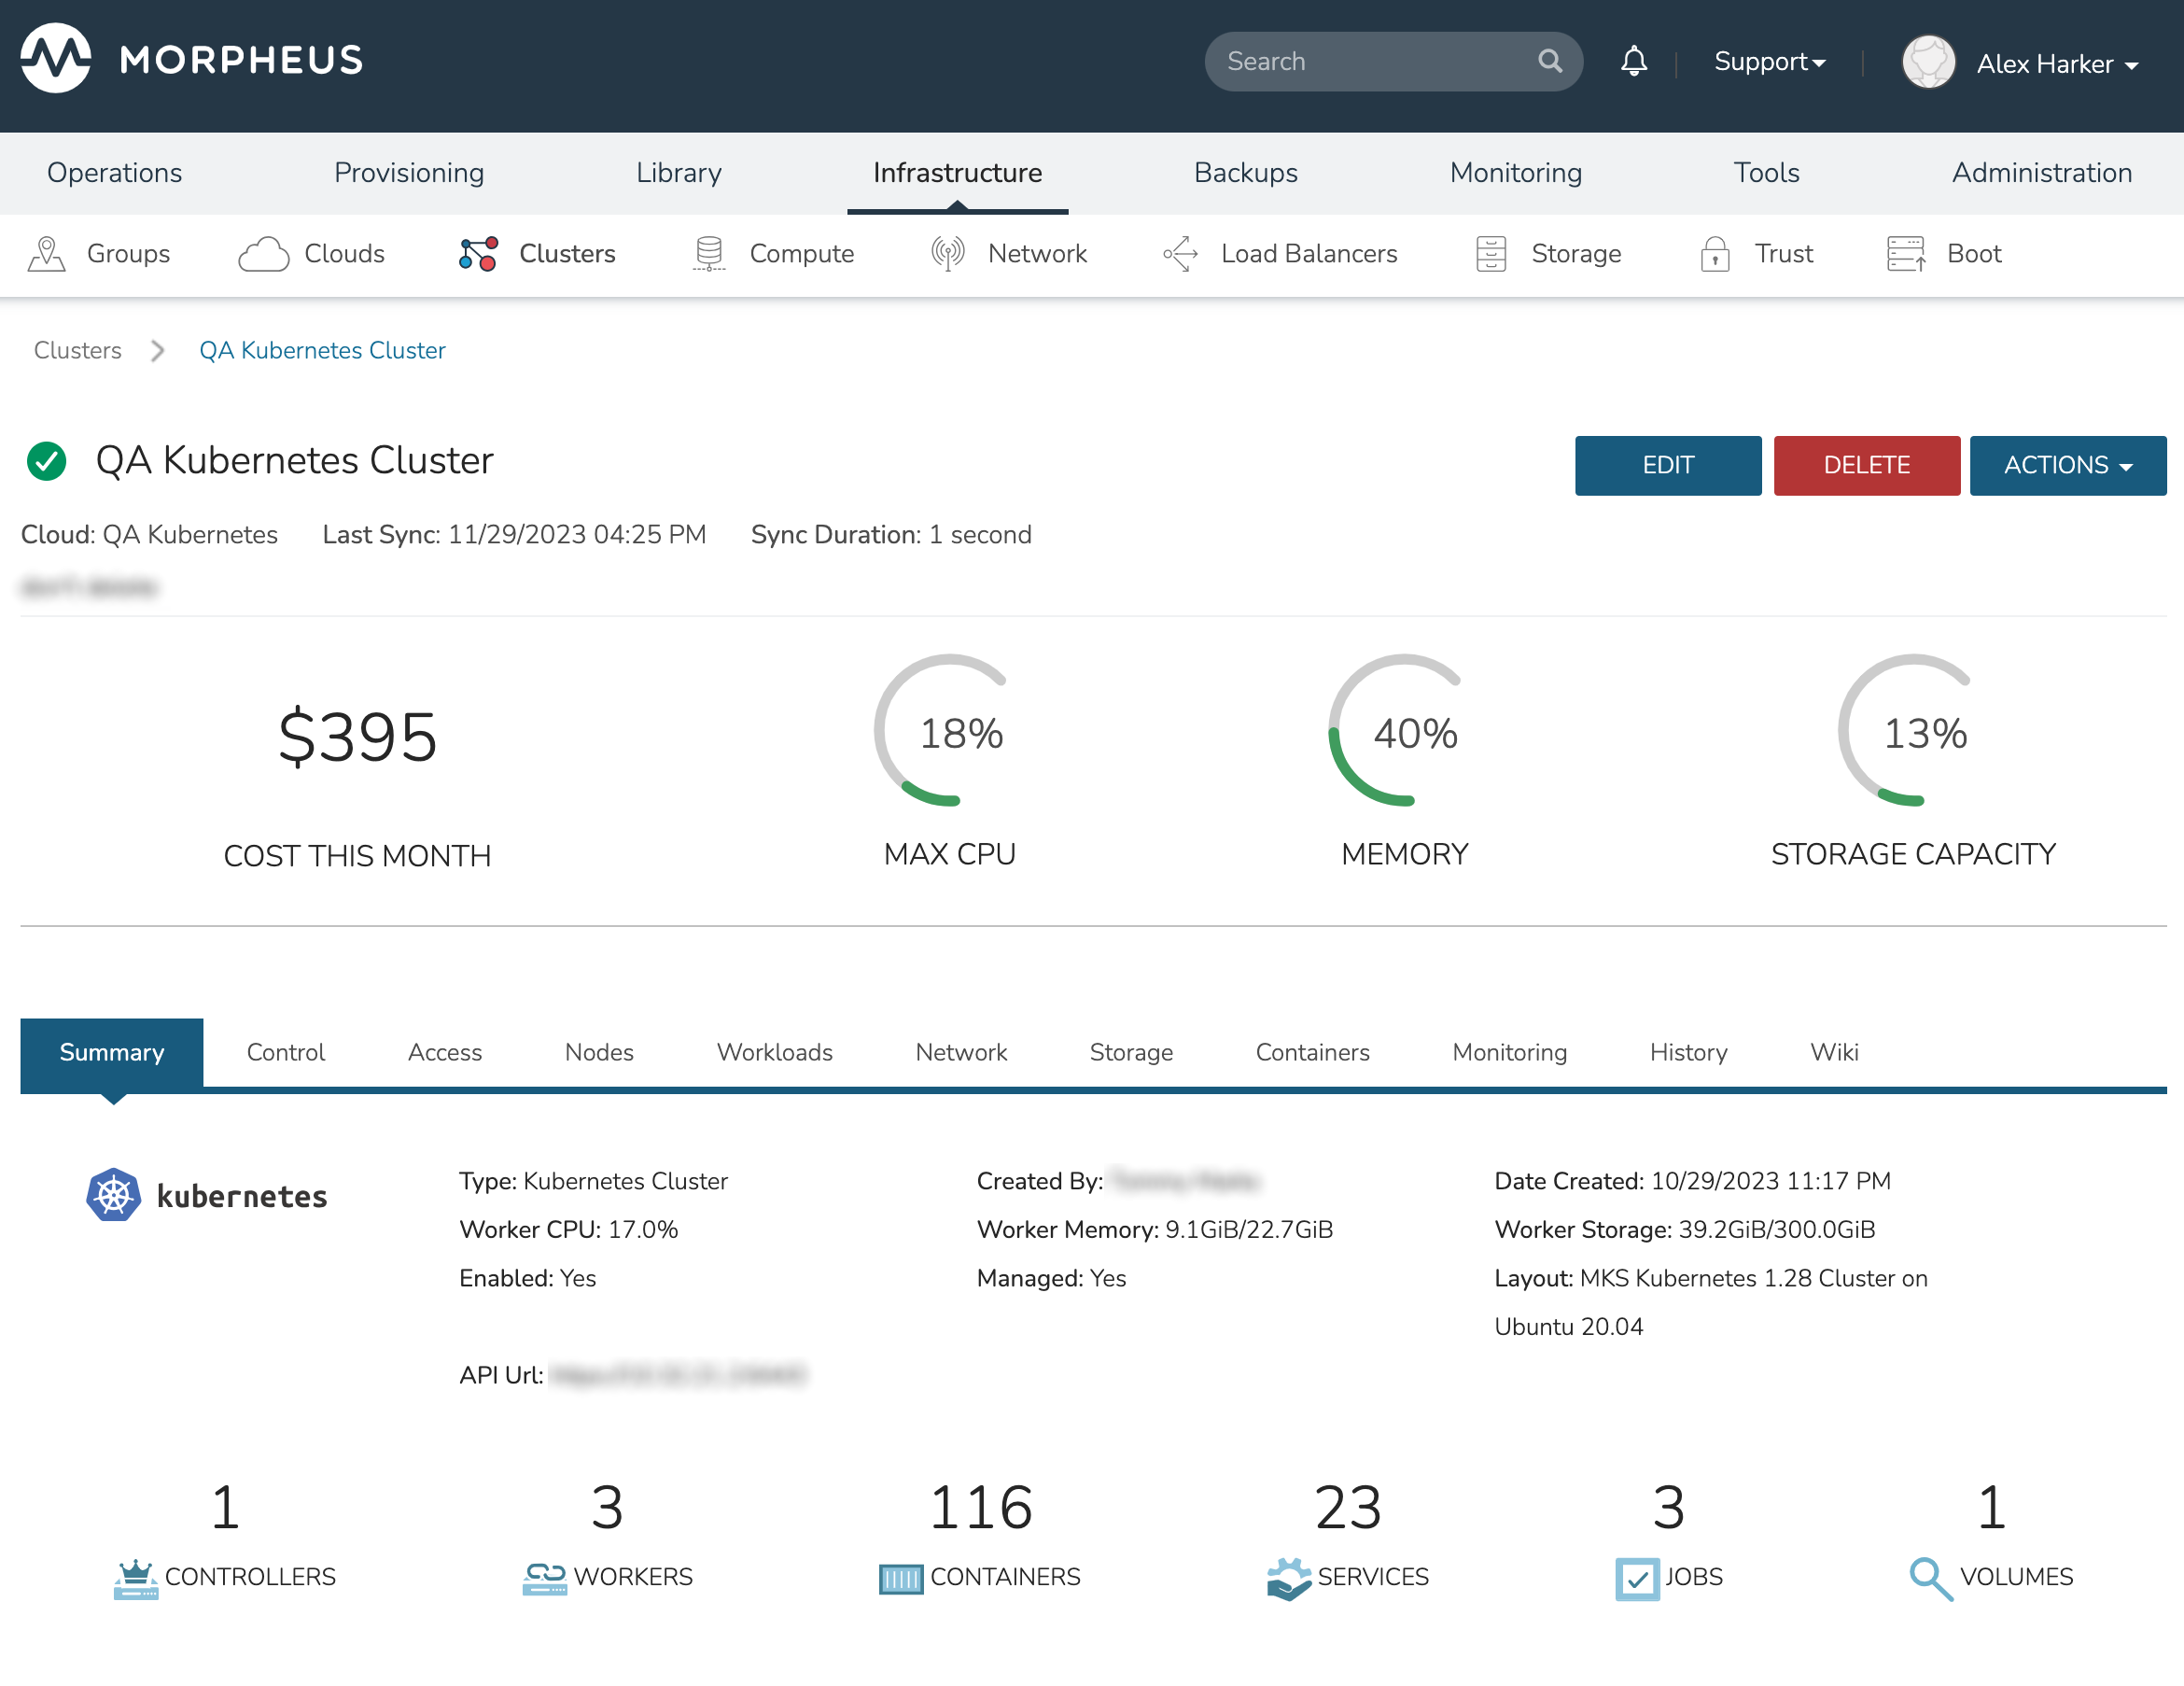
The Kubernetes Cluster Detail page provides a high degree of monitoring and control over Kubernetes Clusters. This includes monitoring of all nodes in the Cluster, kubectl command line, account and role control, workload management, and more. The upper section of the page (which is persistent regardless of the currently-selected tab) provides high level costing and monitoring information, including a current aggregate metric for the CPU, memory and storage use.
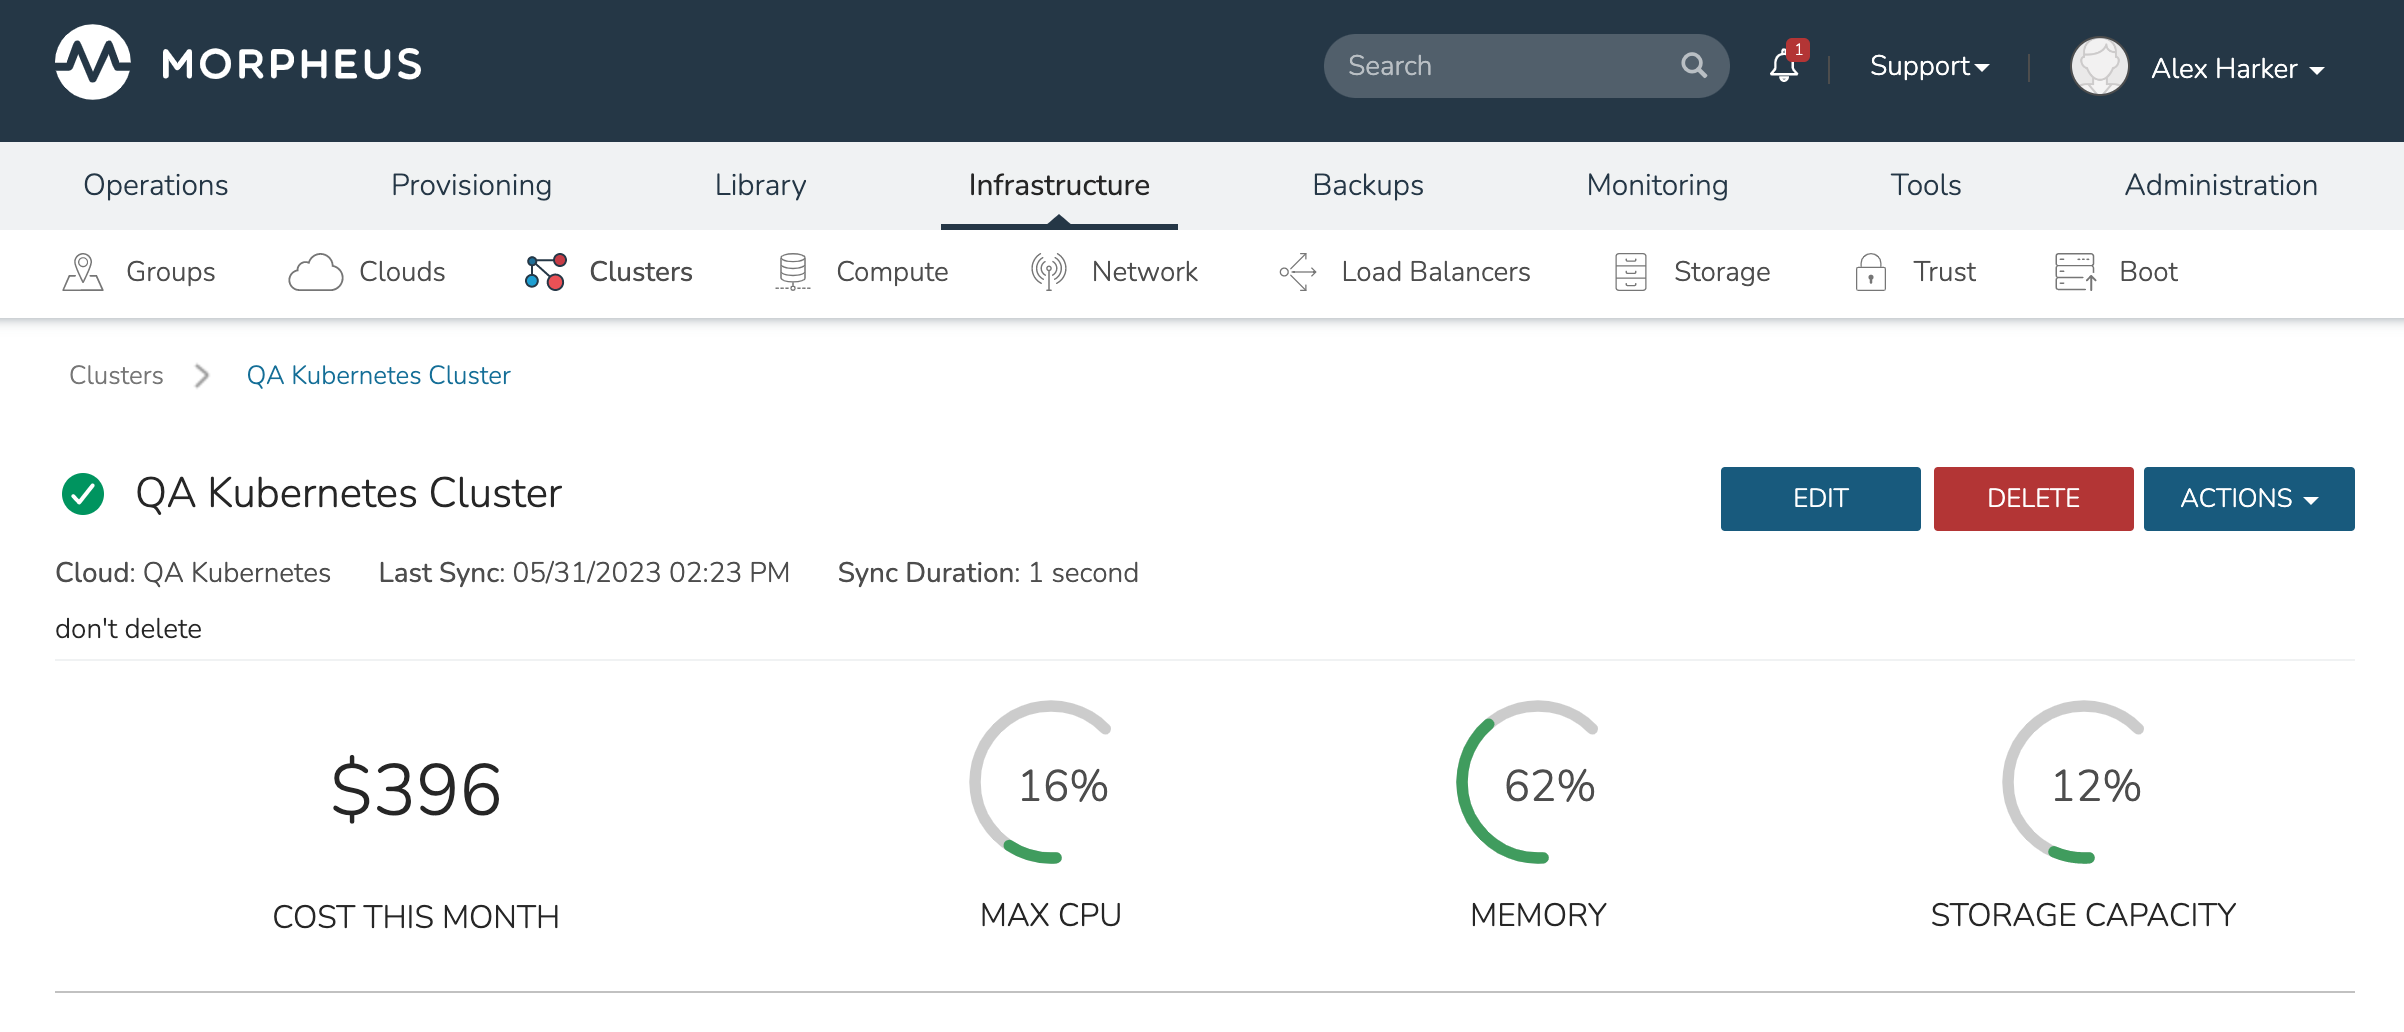
The upper section also includes the ACTIONS menu which includes the following functions:
REFRESH: Forces a routine sync of the cluster status
PERMISSIONS: View and edit the Group, Service Plan, and Tenant access permissions for the cluster
VIEW API TOKEN: Displays the API token for the cluster
VIEW KUBE CONFIG: Displays the cluster configuration
RUN WORKLOAD: Run deployments, stateful sets, daemon sets, or jobs and target them to a specific namespace
UPGRADE CLUSTER: Upgrade the cluster to a higher version of Kubernetes
Important
For HKS 8.1.0, 8.1.1, and 8.1.2 clusters upgrading to Kubernetes v1.35.x or later, remove the deprecated
--pod-infra-container-imageflag from/var/lib/kubelet/kubeadm-flags.envon every control-plane and worker node. Leaving the flag in place causes the upgrade to fail. Current upgrade scripts remove this flag as part of the node upgrade; verify it is absent if an upgrade is interrupted or uses older scripts. This note records the requirement for those historical release lines on the current canonical HKS page because separate versioned source pages are not present in this documentation set.ADD KUBERNETES WORKER: Launches a wizard which allows users to configure a new worker for the cluster
Additional monitoring and control panes are located within tabs, some of which contain subtabs.
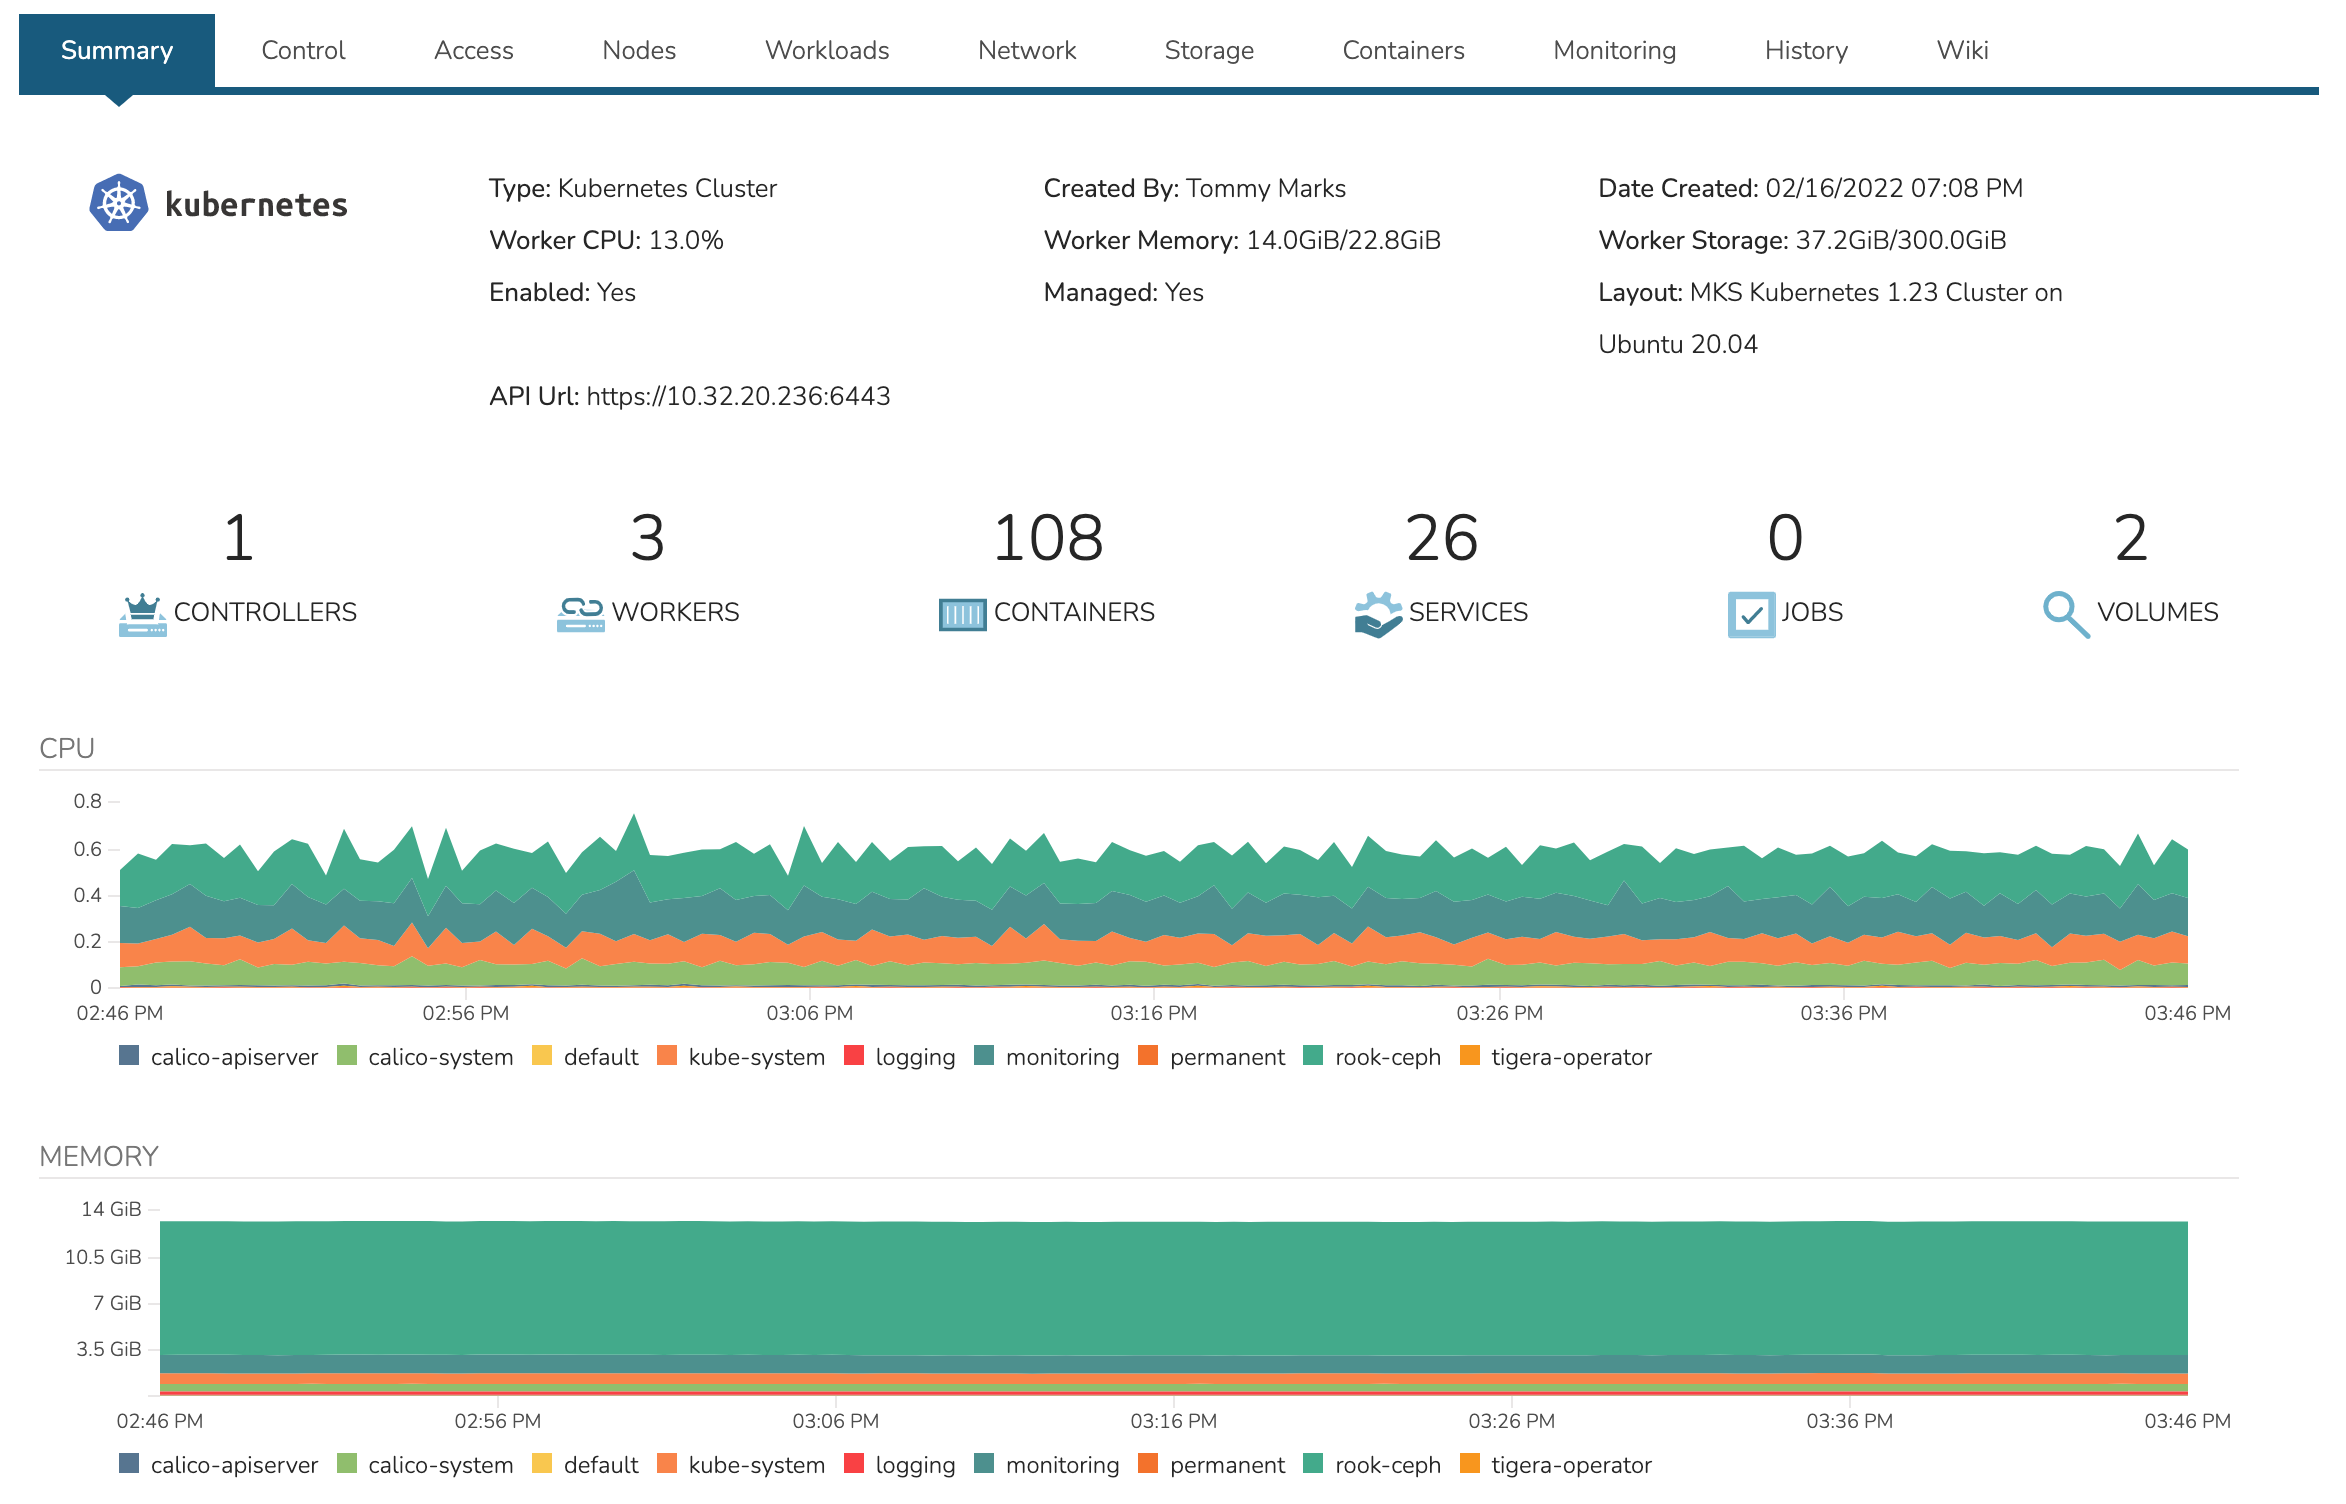
The summary tab contains high-level details on health and makeup of the cluster.
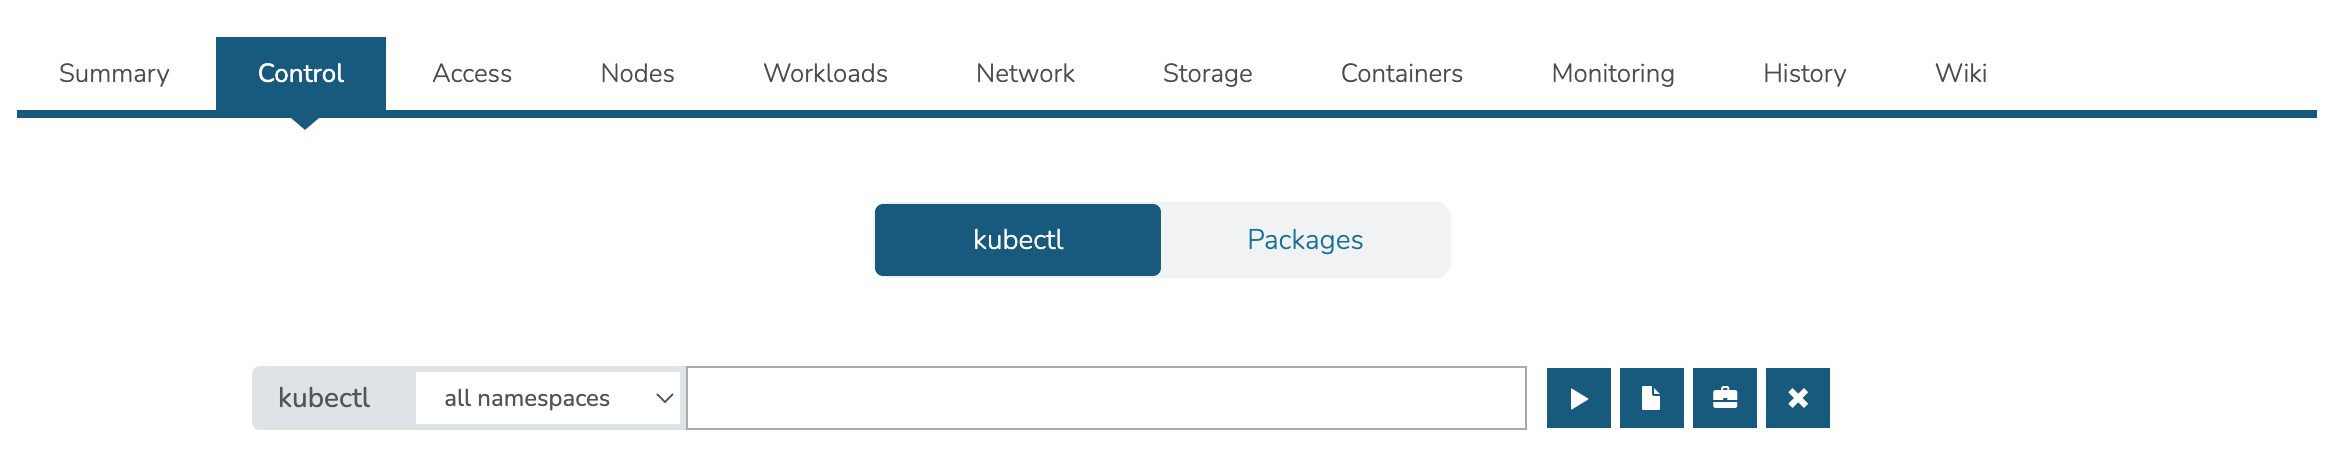
Contains the kubectl command line with ability to target commands to specific namespaces. The Control tab also contains the Packages subtab which displays the list of packages and their versions.
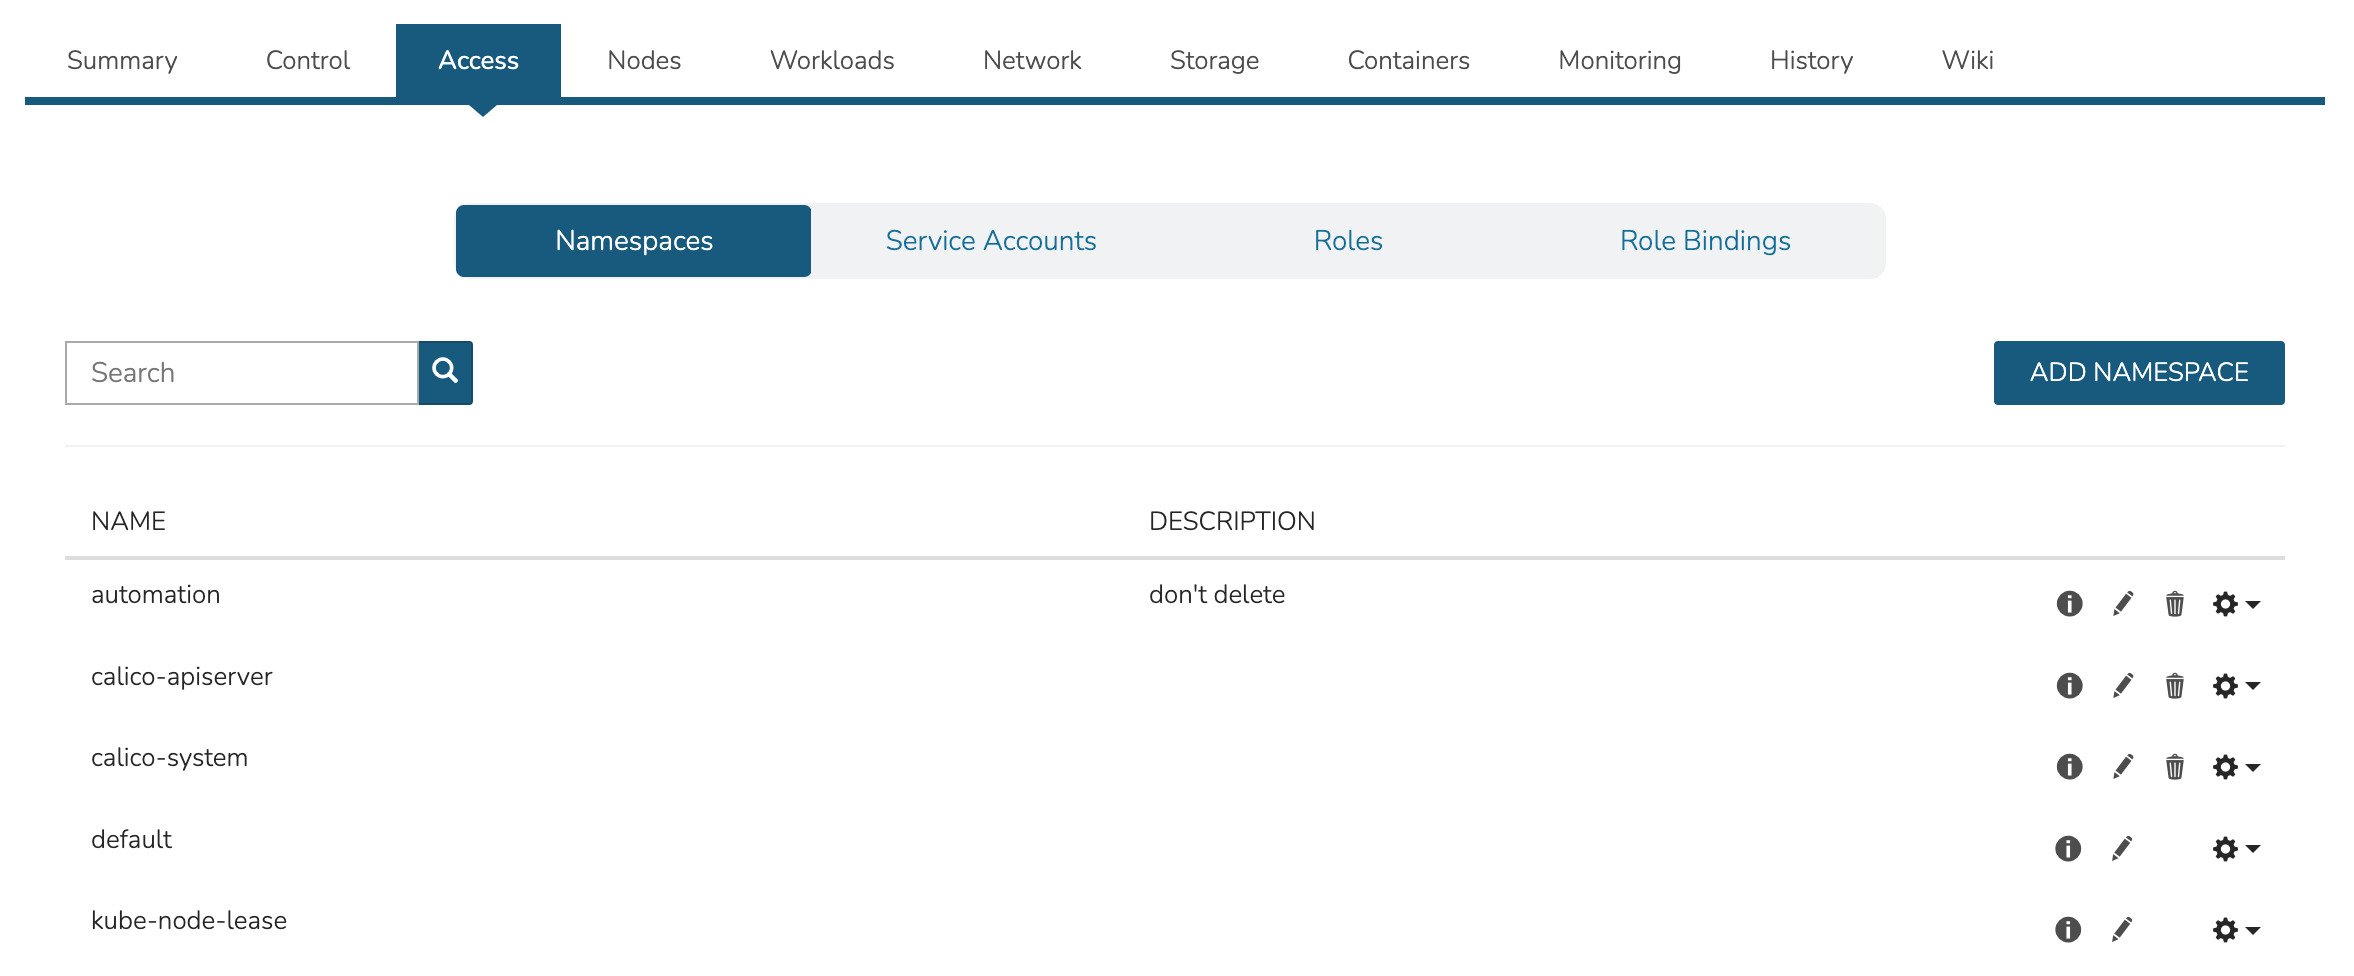
The Access Tab contains view and edit tools for Namespaces, accounts, roles, and role bindings.
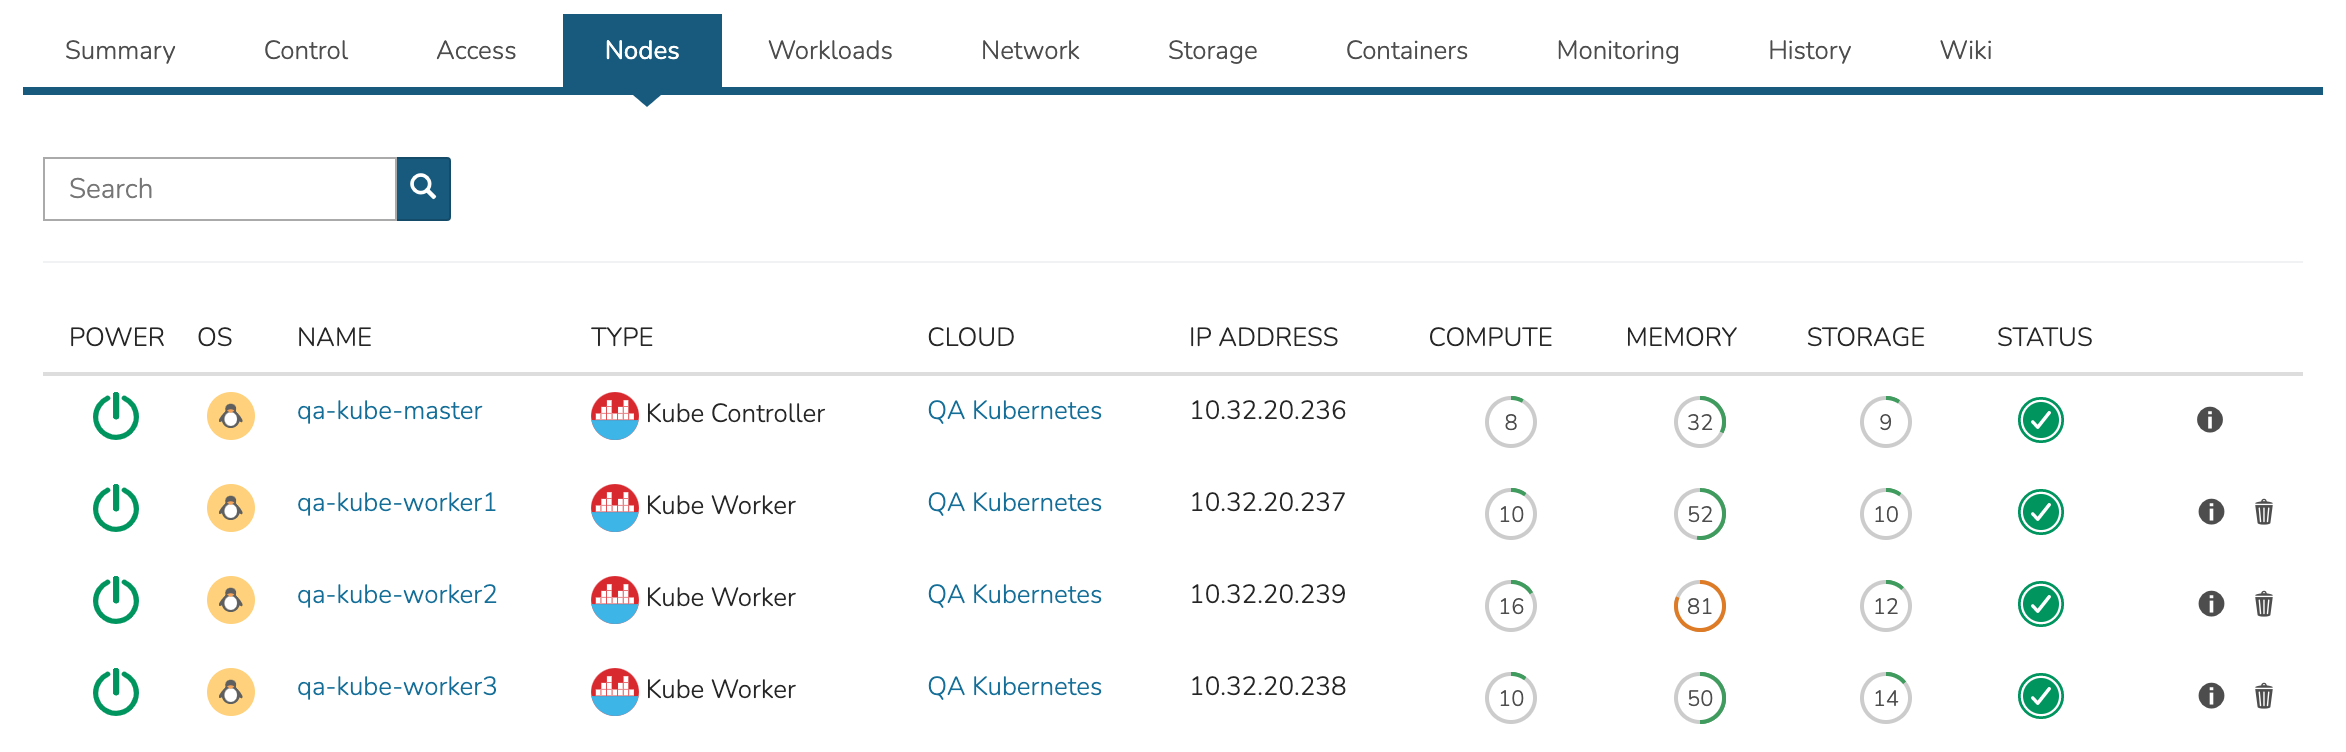
The nodes tab includes a list of master and worker nodes in the cluster, their statuses, and the current compute, memory, and storage pressure on each node.
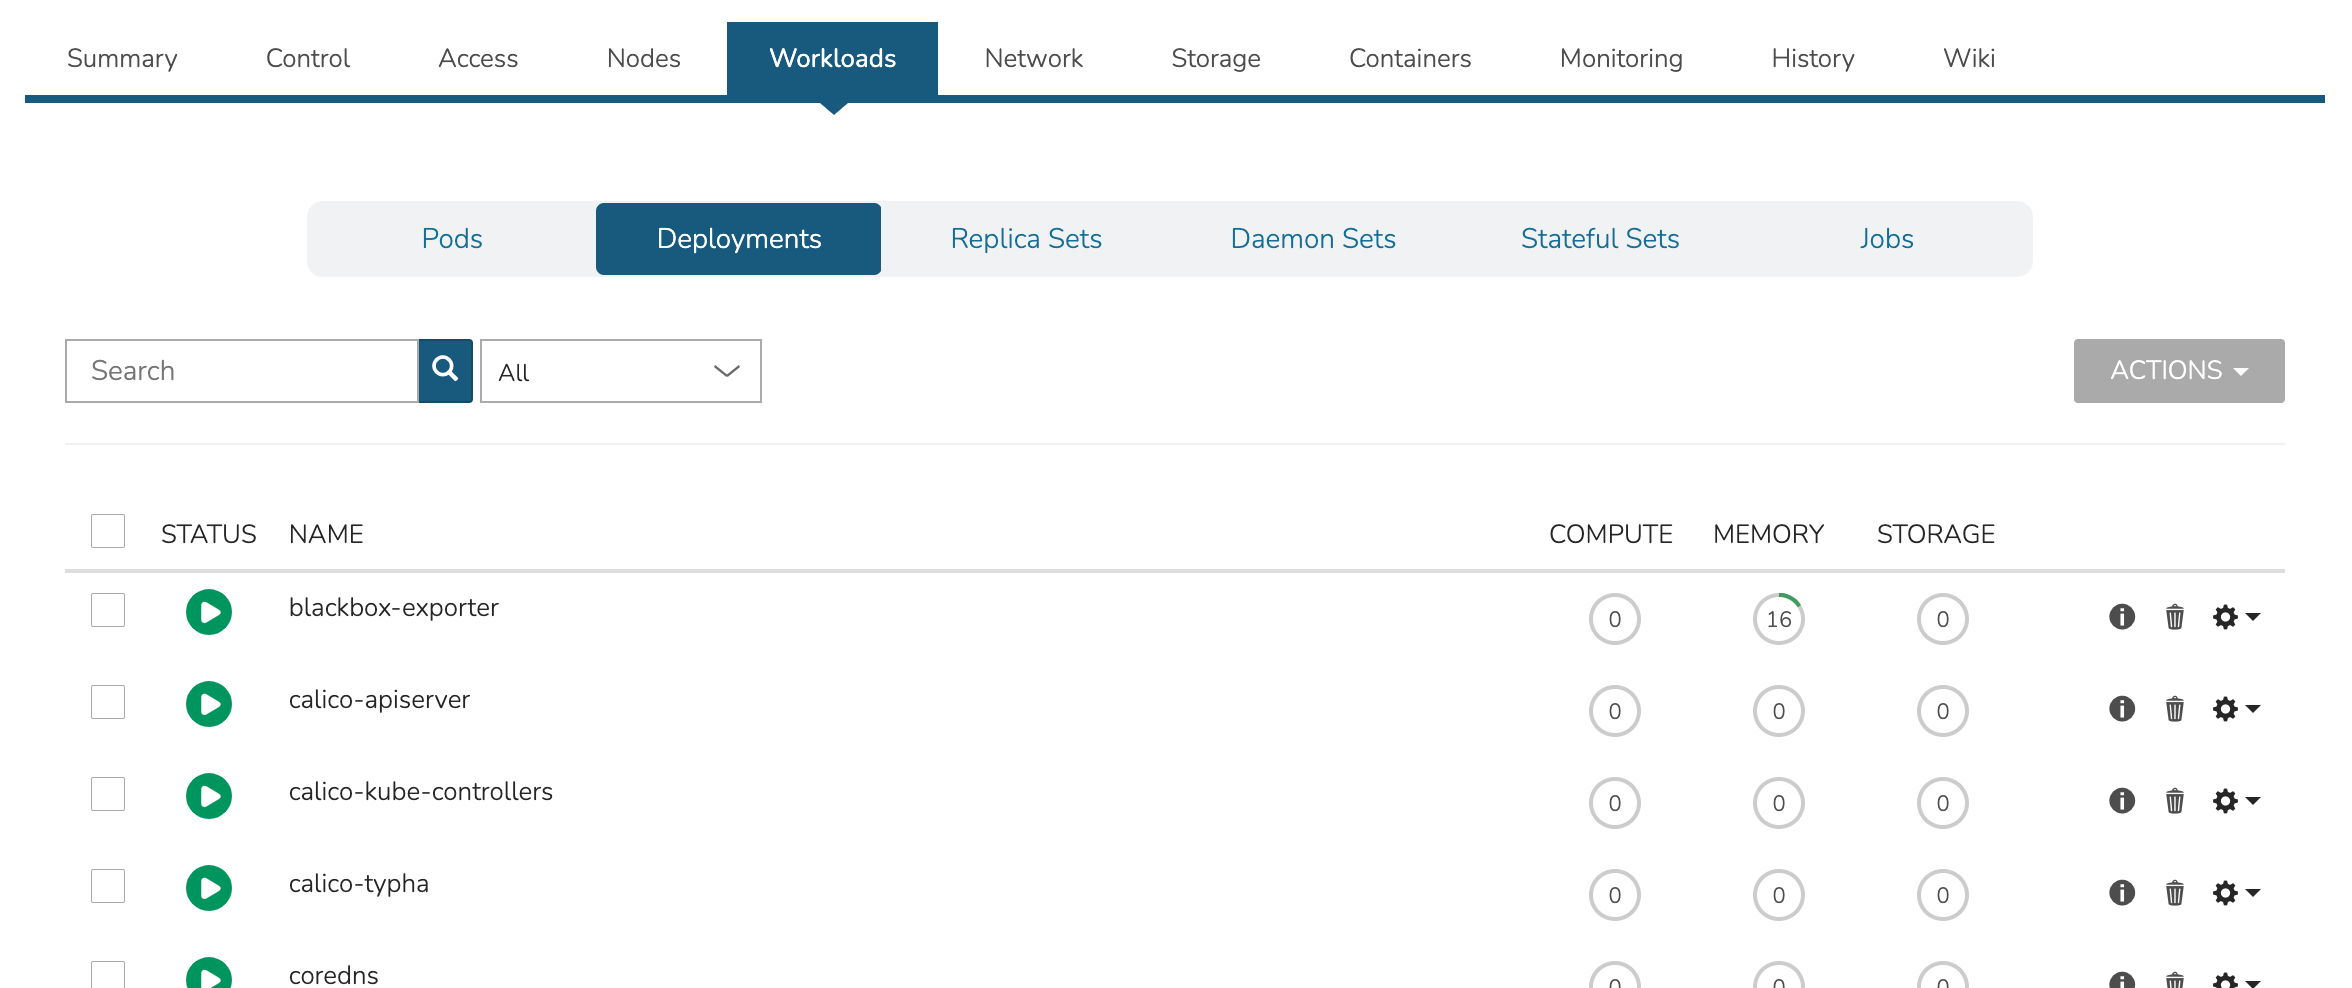
View and edit existing Pods, Deployments, Replica Sets, Daemon Sets, Stateful Sets, and Jobs. Add new Deployments, Stateful Sets, Daemon Sets, and Jobs through the ACTIONS menu near the top of the Cluster Detail Page.
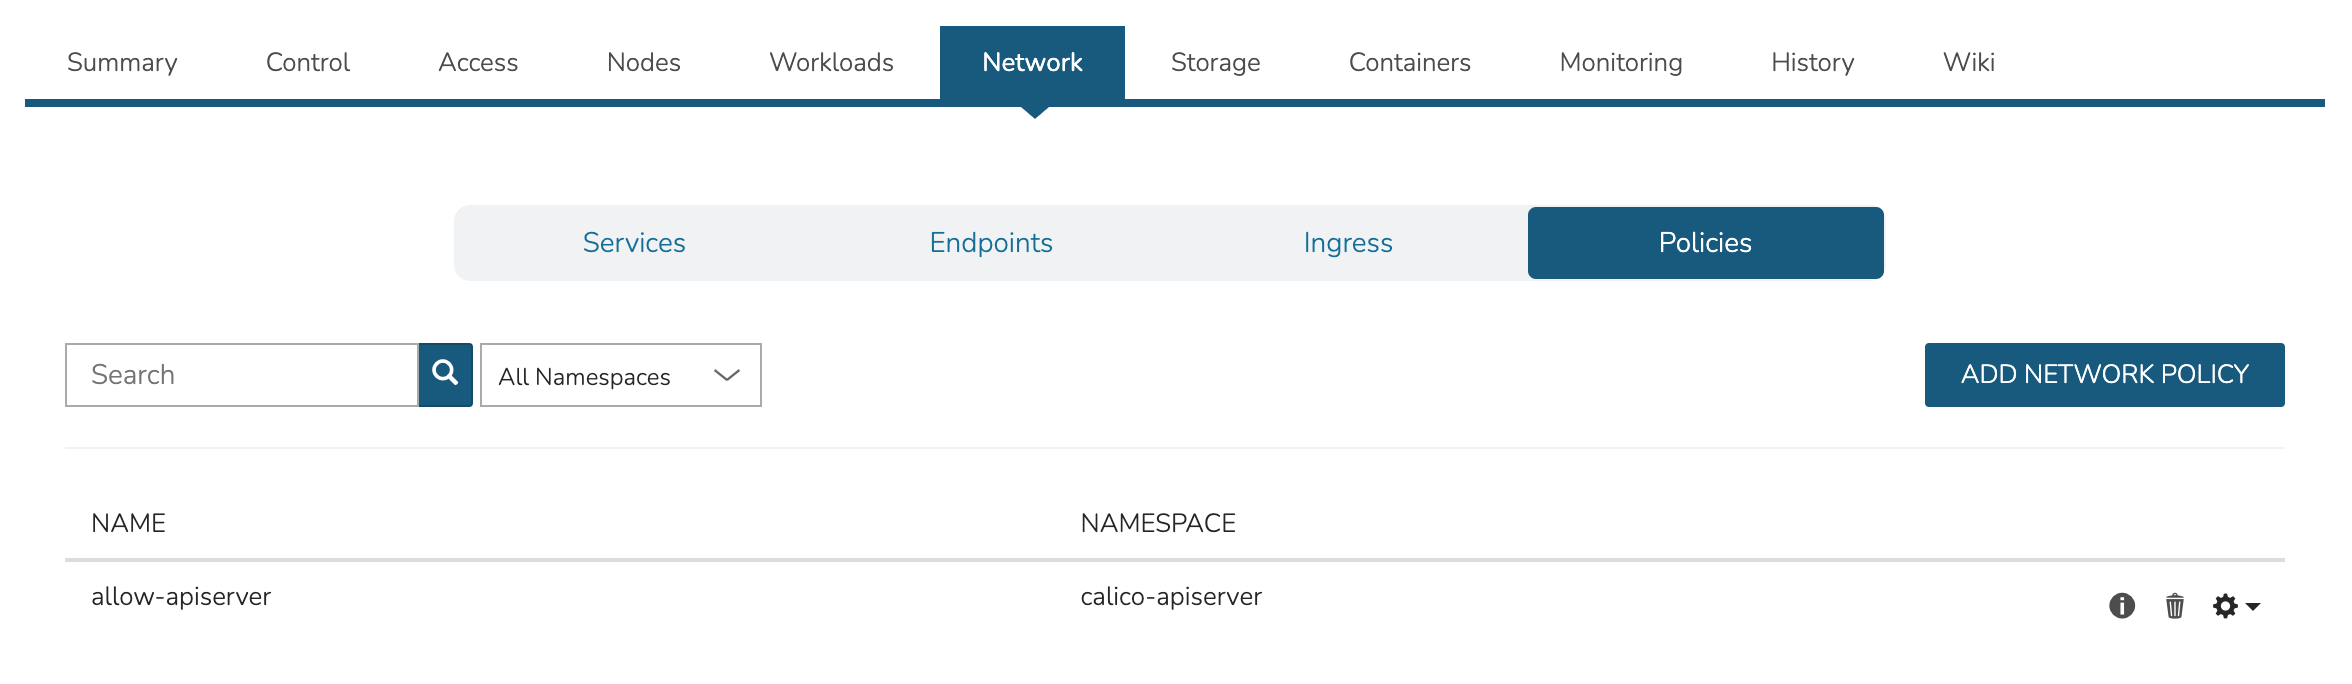
View, add, and edit Services, Endpoints, Ingress and Network Policies
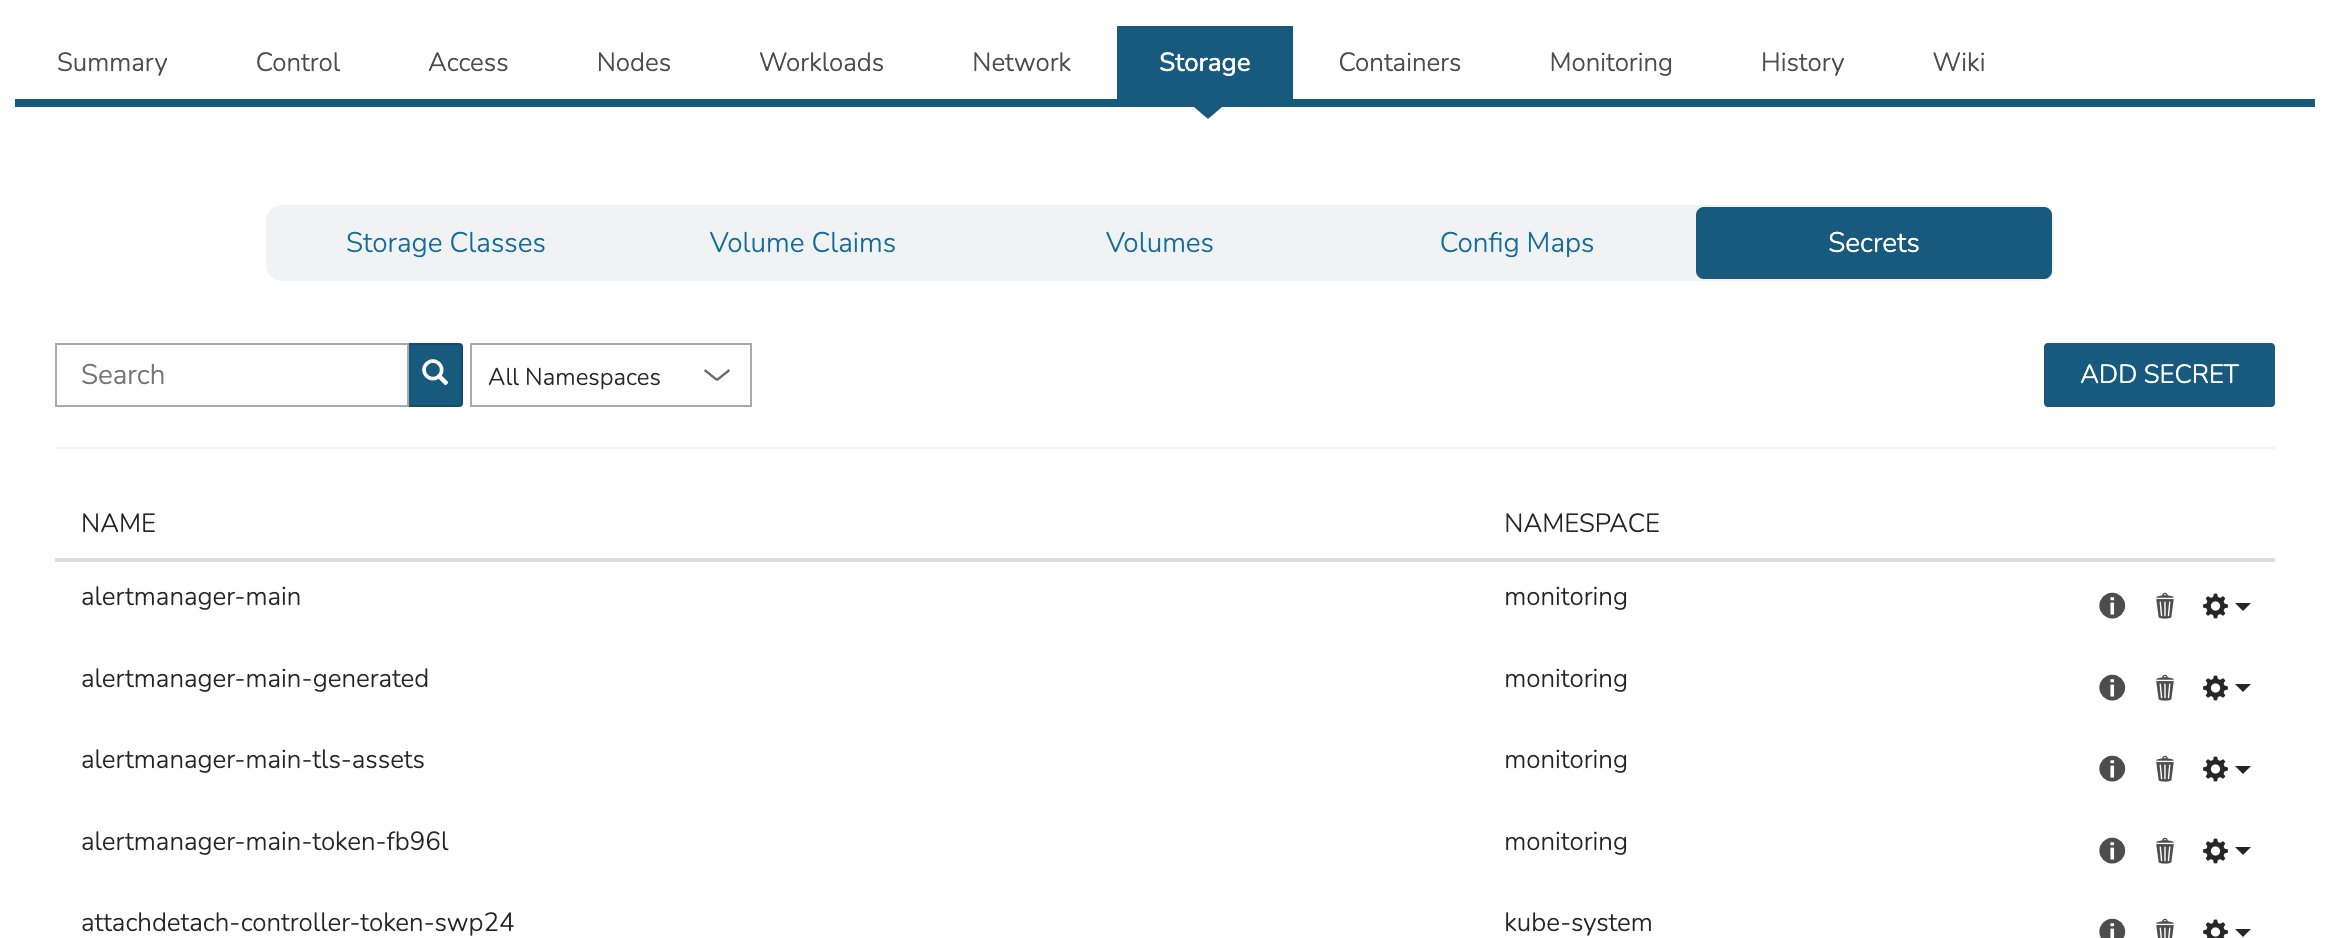
View, add, and edit Storage classes, Volume claims, Volumes, Config maps, and Secrets
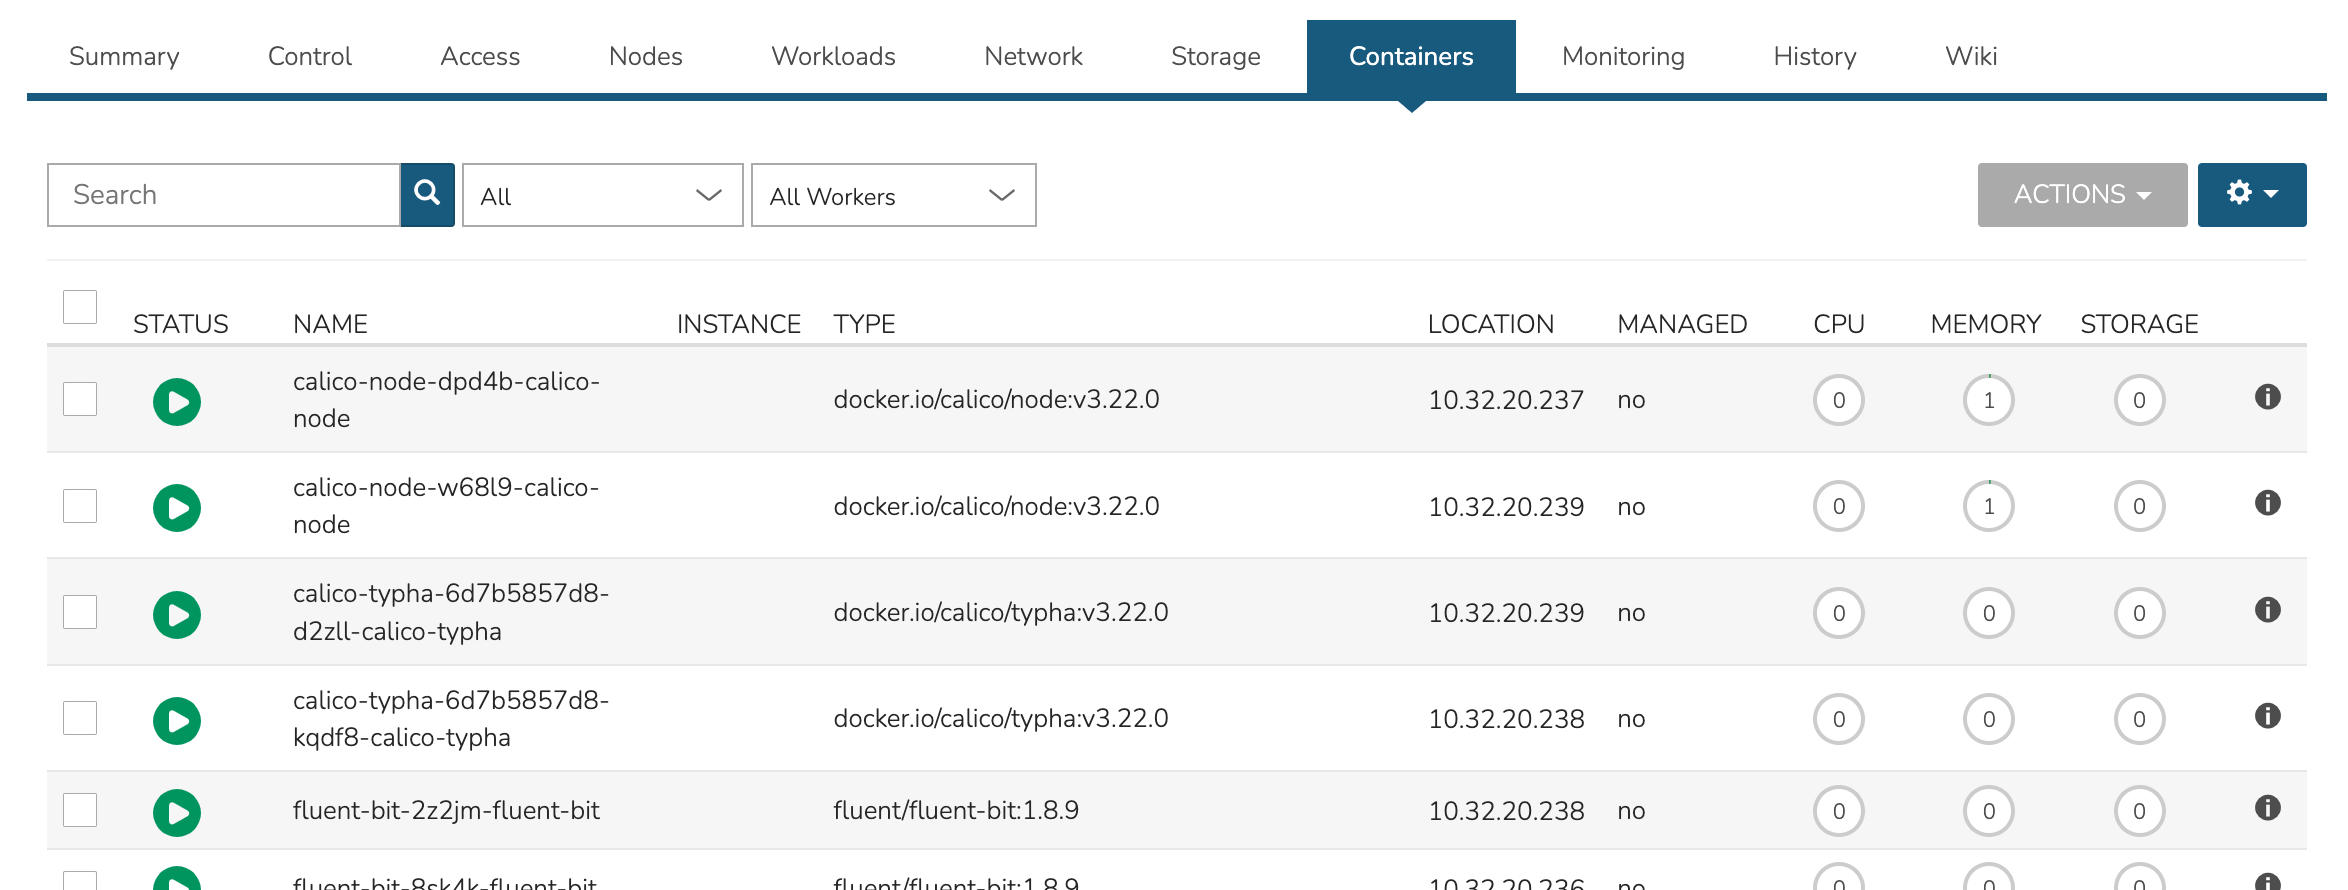
View a list of containers running on the cluster and restart or delete them if needed. This list can be filtered by Namespace or a specific Worker if desired.
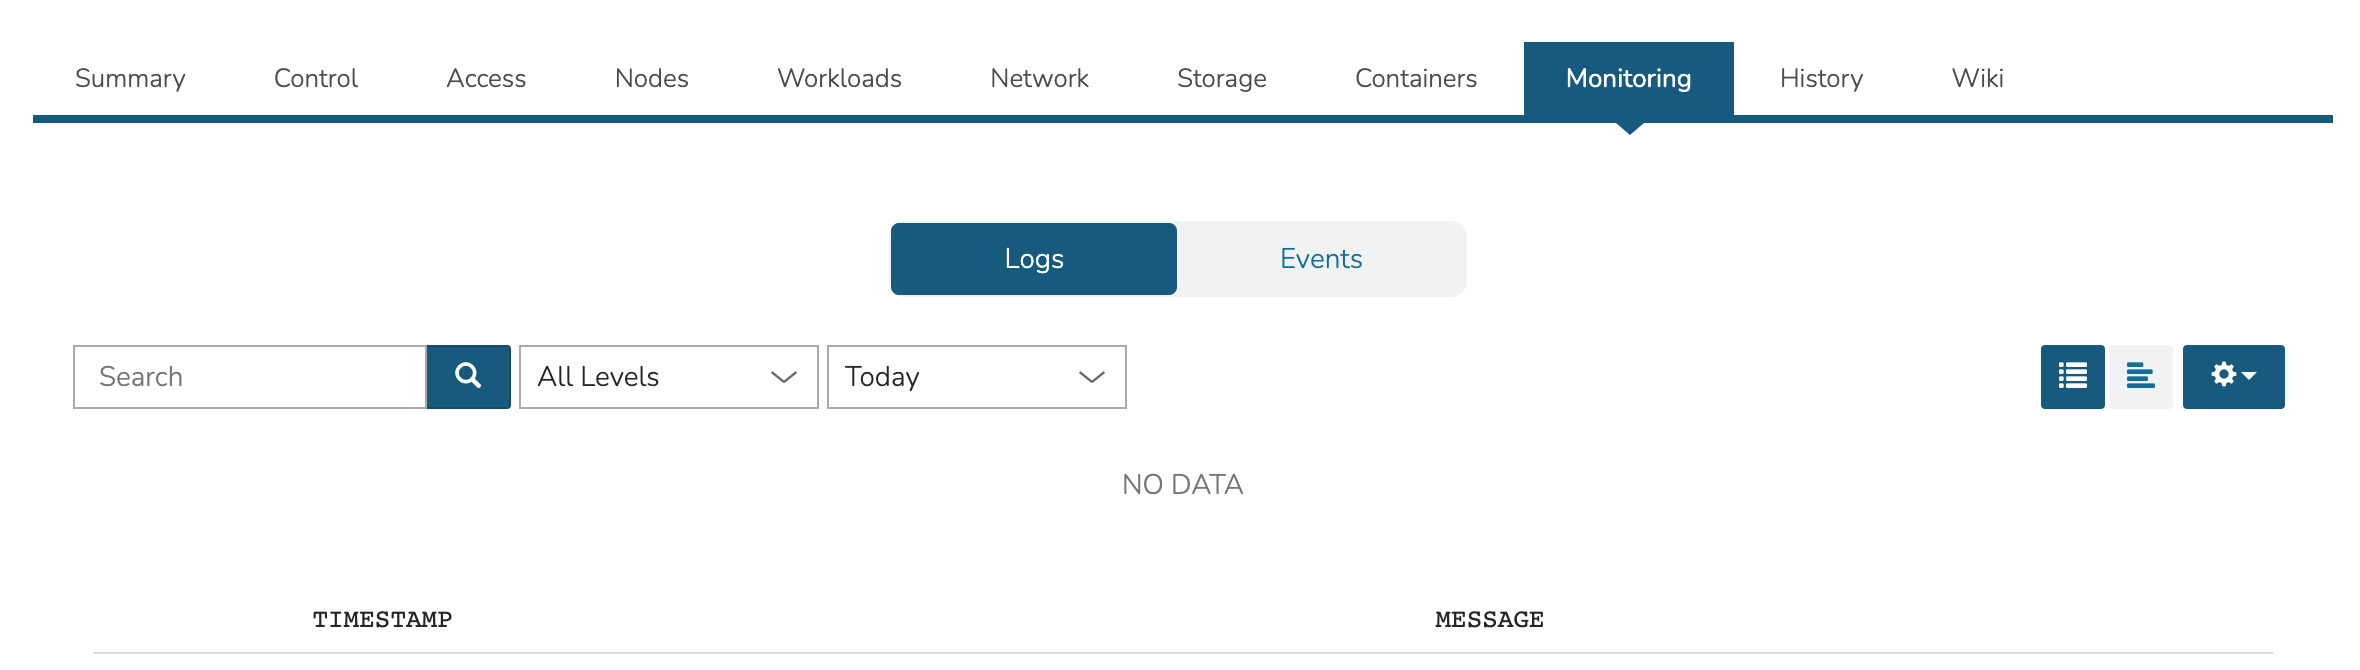
View logs and events with filtering tools and search functionality available.
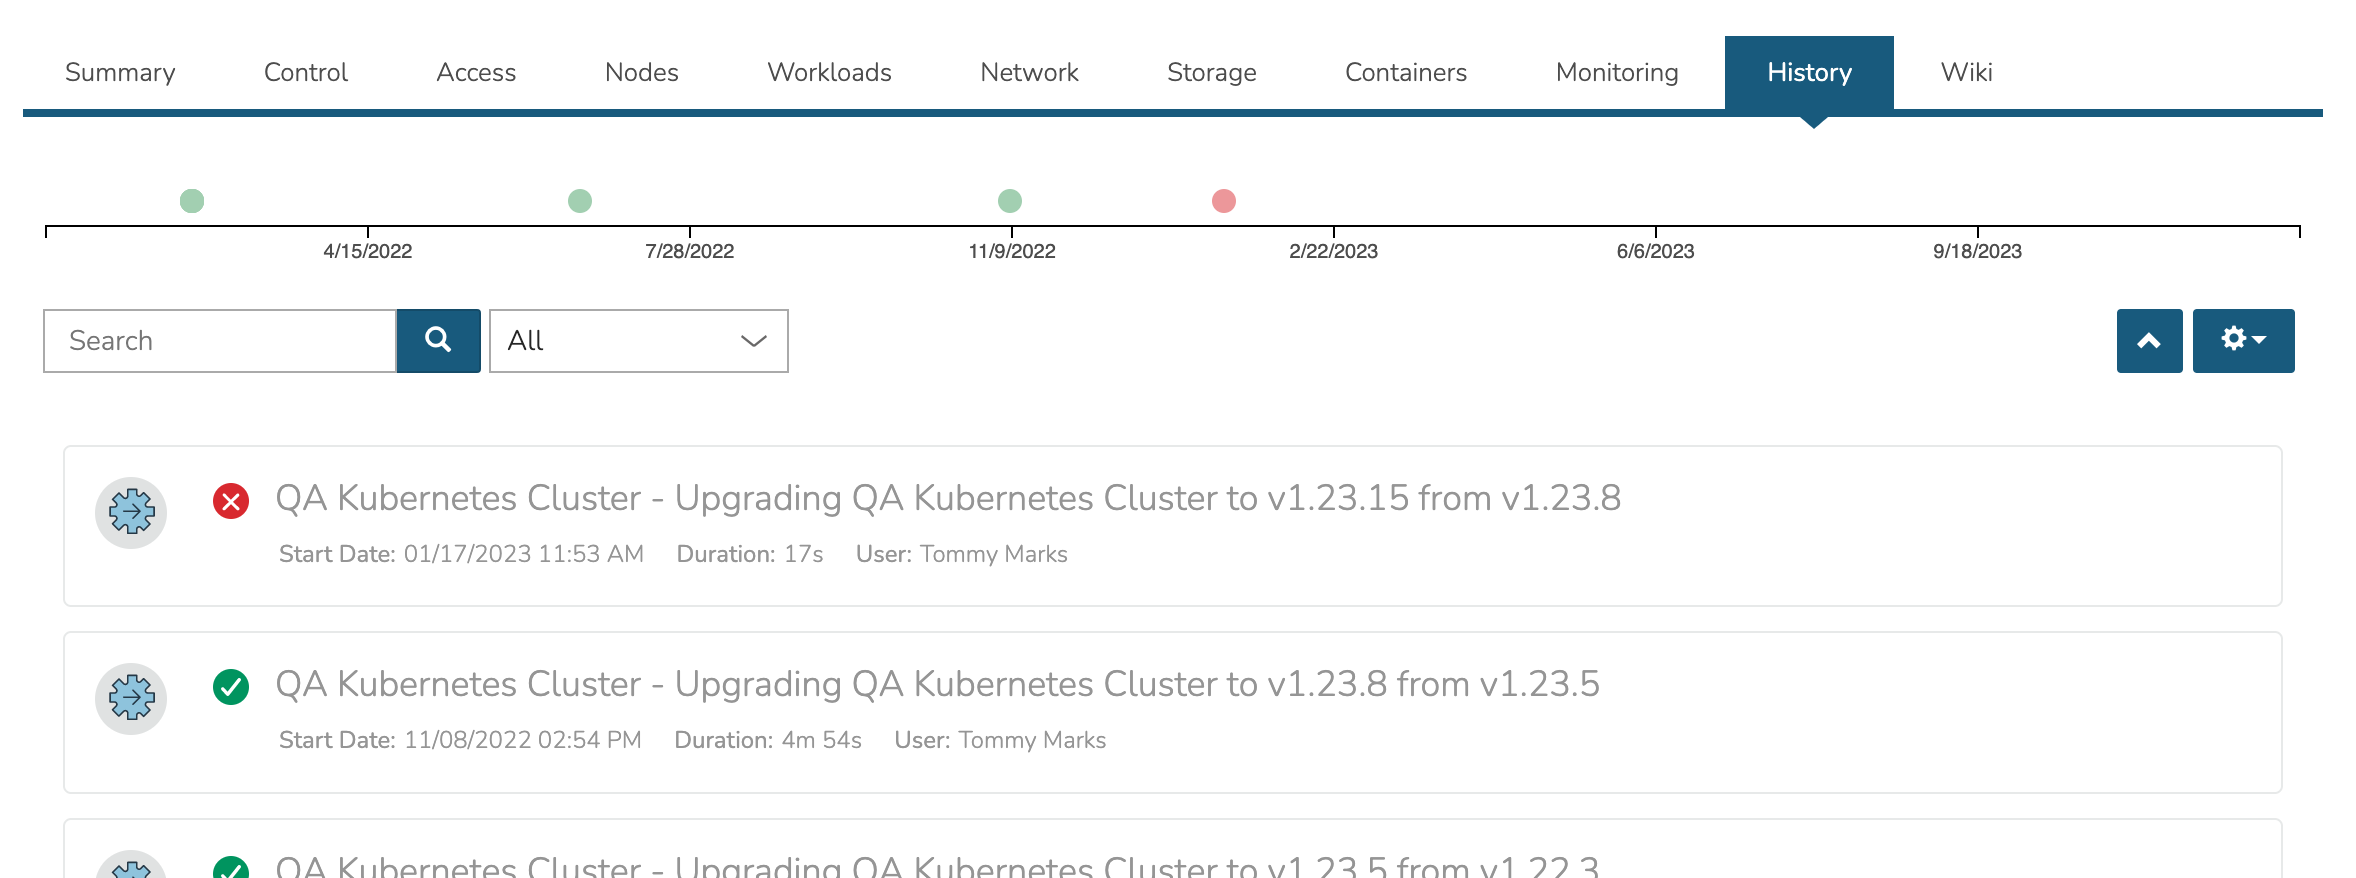
View the Cluster lifecycle history. This includes lists of automation packages (Tasks and Workflows) run against the cluster or its nodes, the success of these scripts and the output.
View the HPE Morpheus Software Wiki entry for this Cluster. This Wiki page may also be viewed in the Wiki section (Operations > Wiki). Edit the Wiki as desired, most standard Markdown syntax will be honored allowing the use of headings, links, embedded images, and more.

Adding External Kubernetes Clusters
HPE Morpheus Software supports the management and consumption of Kubernetes clusters provisioned outside of HPE Morpheus Software. These are referred to as External Kubernetes Clusters in HPE Morpheus Software UI. This could be used, for example, to onboard and manage OpenShift clusters. In order to fully integrate the Kubernetes cluster with the HPE Morpheus Software feature set, you may need to create a service account for HPE Morpheus Software. Without first taking that step, some features may not work fully, such as listing all namespaces. The process for creating a service account and integrating the Cluster with HPE Morpheus Software is described here.
First, create the Service Account within the Kubernetes cluster:
kubectl create serviceaccount morpheus
Next, create the Role Binding:
kubectl create clusterrolebinding morpheus-admin \
--clusterrole=cluster-admin --serviceaccount=default:morpheus \
--namespace=default
With those items created, we can gather the API URL and the API token which will be used to add the existing cluster to HPE Morpheus Software in the next step:
kubectl config view --minify | grep server | cut -f 2- -d ":" | tr -d " "
SECRET_NAME=$(kubectl get secrets | grep ^morpheus | cut -f1 -d ' ')
kubectl describe secret $SECRET_NAME | grep -E '^token' | cut -f2 -d':' | tr -d " "
After finishing those steps, we can now create the external cluster in HPE Morpheus Software. Navigate to . Click + ADD CLUSTER and then select “External Kubernetes Cluster”. Set the following fields, you will have to advance through the pages of the wizard to see all fields indicated:
GROUP: A previously created HPE Morpheus Software Group
CLOUD: A previously-integrated Cloud
CLUSTER NAME: A friendly name for the onboarded cluster in HPE Morpheus Software UI
RESOURCE NAME: The resource name will be pre-pended to Kubernetes hosts associated with this cluster when shown in HPE Morpheus Software UI
LAYOUT: Set an associated Layout
API URL: Enter the API URL gathered in the previous step
API TOKEN: Enter the API Token gathered in the previous step
KUBE CONFIG: Enter Kubeconfig YAML to authenticate the cluster
The above are the required fields, others may be optionally configured depending on the situation. Complete the wizard and HPE Morpheus Software will begin the process of onboarding the existing cluster into management within HPE Morpheus Software UI. Once things are finalized and statuses are green, the cluster can be monitored and consumed as any other cluster provisioned from HPE Morpheus Software.
Additional Kubernetes Topics
See also
- Kubernetes Storage Management
Persistent Volume, PVC, and StorageClass management
- Container Registry Integration
Container registry integration within Kubernetes clusters
- Kubernetes Jobs
Job, CronJob, and Deploy Job management
- External Kubernetes Clusters
Detailed guide on importing external Kubernetes clusters
- Helm Chart Provisioning
Helm chart provisioning
- Helm Upgrade Workflow
Helm upgrade workflows
- Kubernetes Spec Blueprint
Kubernetes Spec blueprint type